Friday, November 5, 2010

500 words tutorial concept "body of knowledge"

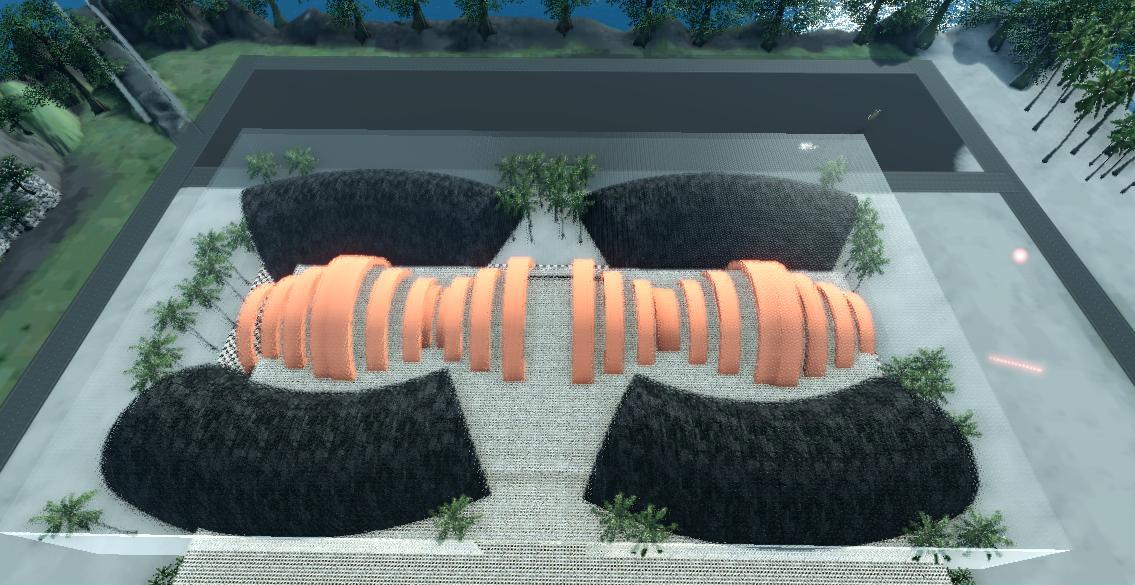
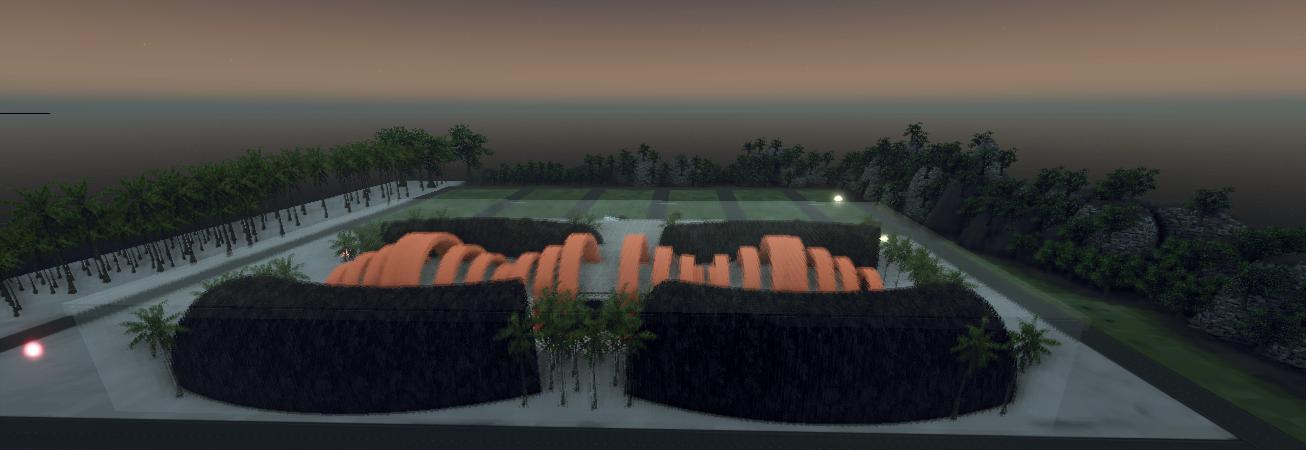
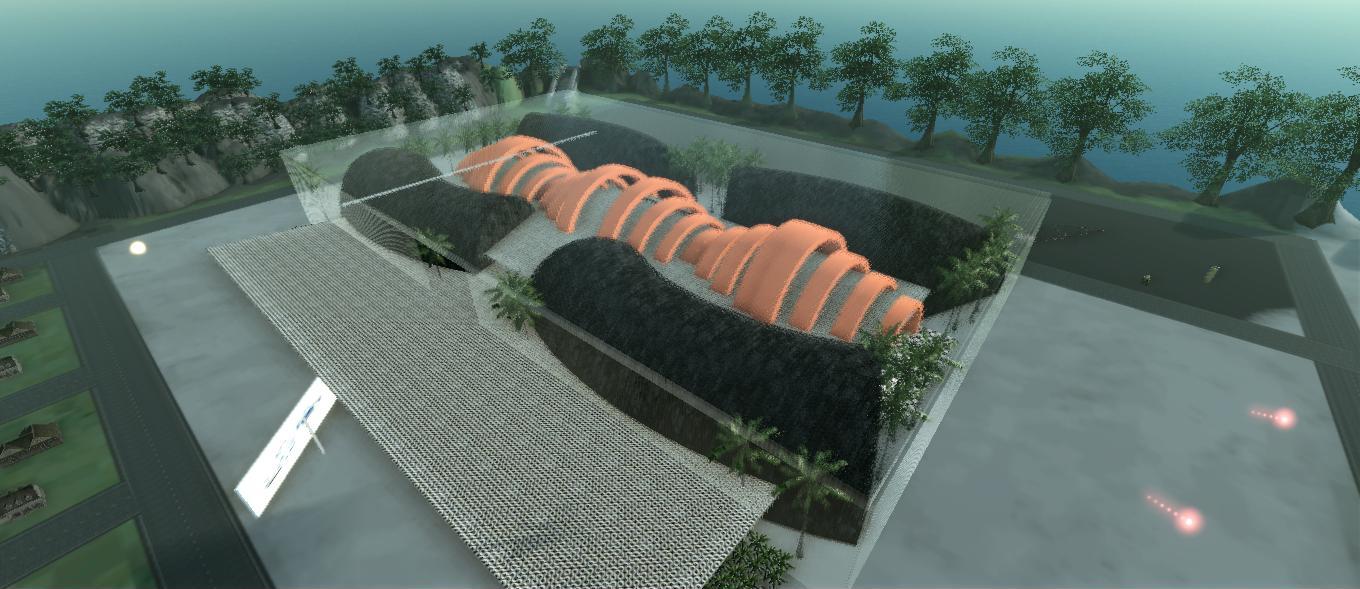
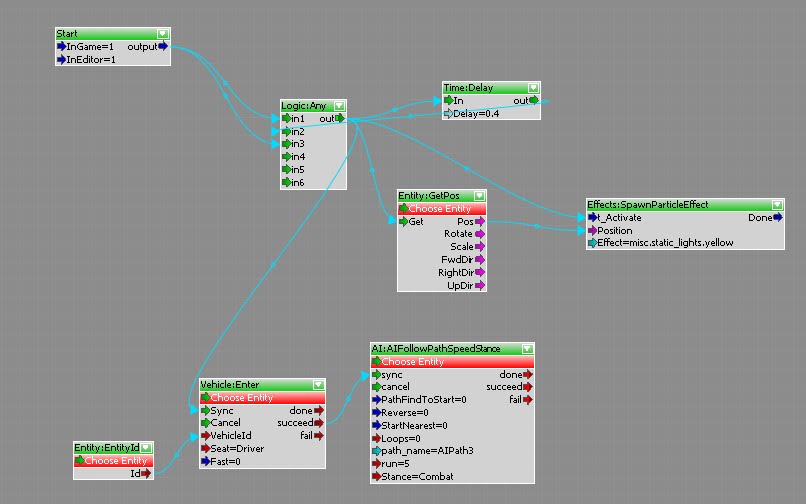
The use of this tutorial is to establish the meaning and teach the ability of the representing the further insight into the theory and understanding on how to spawn the particle entity on the AI character and to the specified AI Path. The use of this is to illustrate and interpret the data visualisation principles and to try and create the design and aesthetical sector of data visualisation. The use of the spawn particle effect on the character will give the illumination to the terrain and emphasis the areas that represent significance and navigational movement.

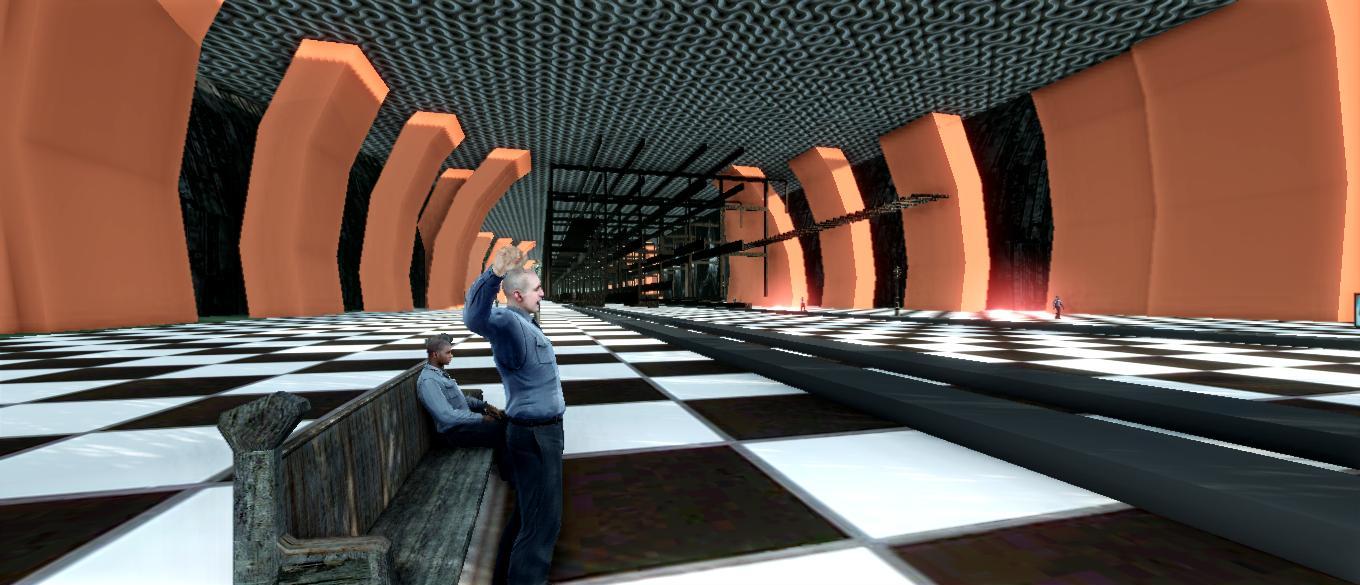
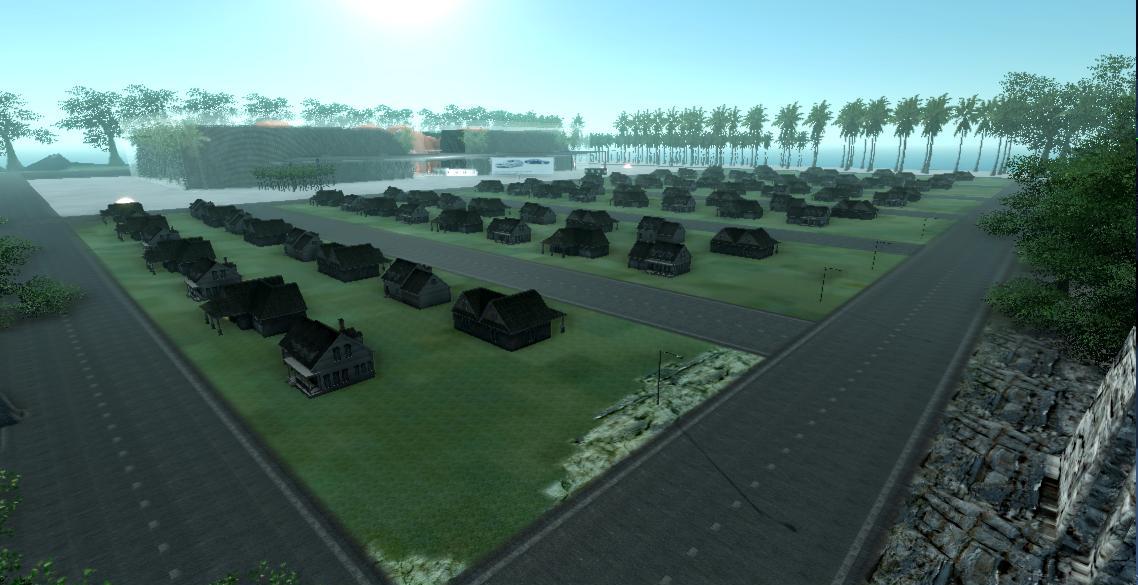
The AI path is the constructed on a couple of nodes that require the use of remembering the name of the AI path and exactly having the practice of putting together the specific AI path on a snap terrain and un-ticking the roads button. The use of the snaps to terrain will bring any entity or object from the toolbars to be attached to the terrain. The use of the Spawn particle entity from the effects tool in the nodes will allow the AI path to have the movement and deferring actions depending on the variables that are being set.

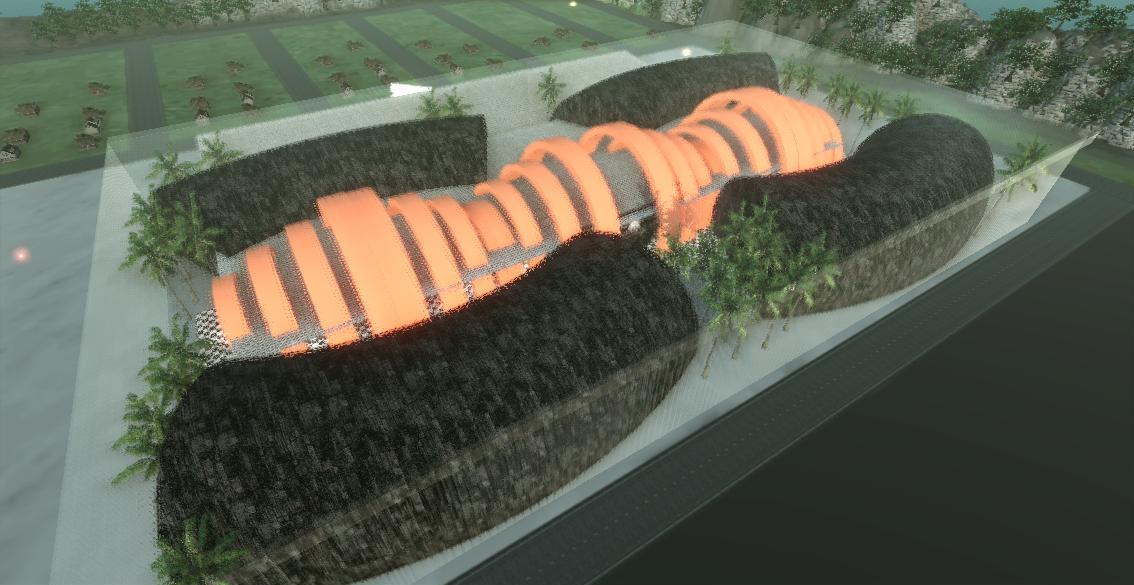
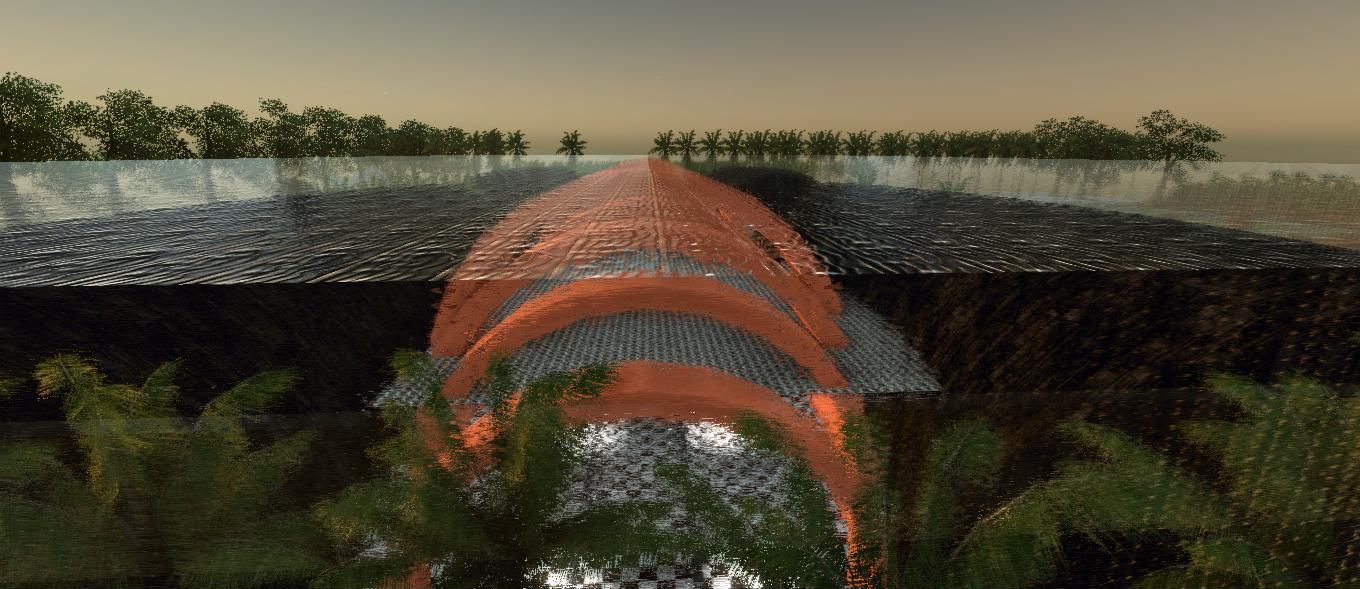
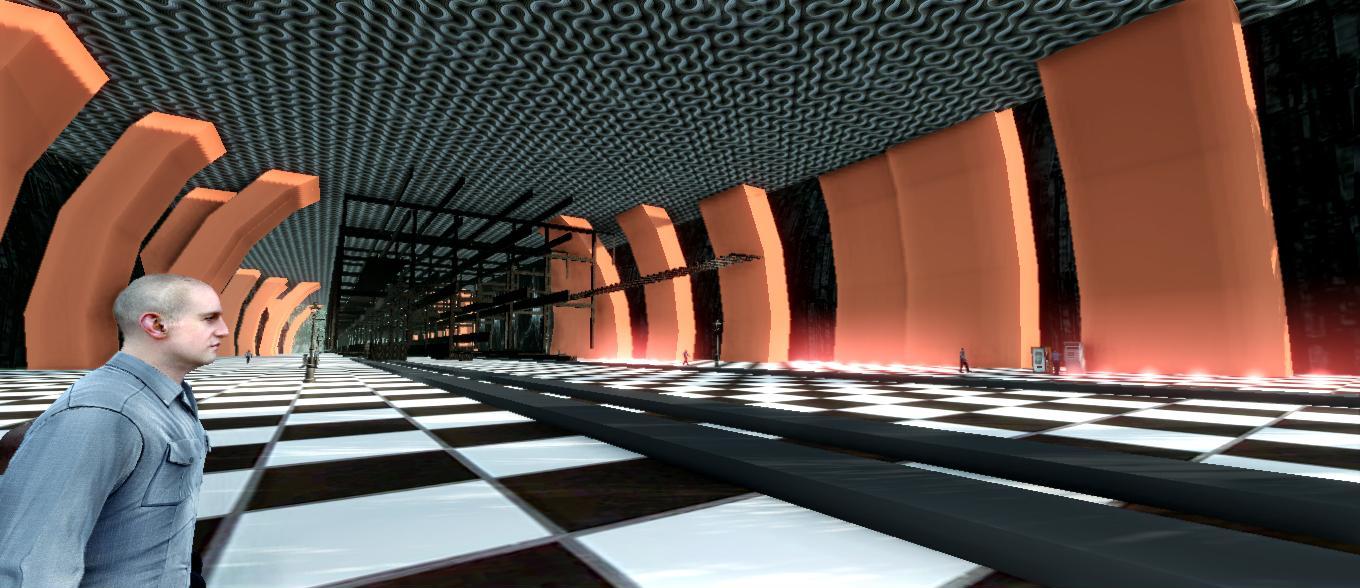
The Spawn particle entity will demonstrate and represent the track that the player will follow and the purpose of my tutorial is to have already assumed that with the use of the numerous AI paths both written and video tutorial that there was no point of repeating the straps that have already been performed.

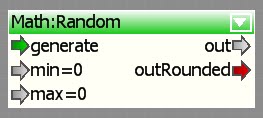
The use of the random ball movement can elaborate on the purpose of having the diversity of the message of data visualisation. The use of the random movement required more nodes and represented how to control by having the ability to have an input key to assign to the terrain and to have the effect of objects moving randomly. Within the tutorial I wanted to explore the video to go a bit faster than the audio voice as in many tutorials that I’ve seen the video is being played and then the speaker is saying what is happening like a couple milliseconds later. I saw this to be an emphasis and a prime way to compose the tutorial, however looking back at it that may be something to be explored in the future and to establish a new means of communication.

Overall the practice of the tutorial was very successful I felt that it was a helpful exercise not only for the viewers but also on a personal level as I learnt and understood a clearer depth of Crysis Sandbox Editor. I was pleased with the overall outcome with the use of the captions and table of contents and also the impact of having the knowledge and experience of sharing and possibly helping someone in need.

Final Tutorial Video


Note: Recommended to be watched in 720p

Download Links and Buttons


Crysis Levels Folder

http://www.filefront.com/17477689/z3332760_Crysis_levels.zip

Buttons: - 'p' to rise the bar graph
- 'k' to make balls move randomly

Crysis Objects Folder

http://www.filefront.com/17477810/z3332760_Crysis_Objects.zip

Google Sketchup File

The Installation building and train station change
http://www.filefront.com/17477761/z3332760_sketchup_model_benv_2423_exp2.skp

The sphere balls that go from the bargraph to random movement
http://www.filefront.com/17478223/z3332760_sketchup_model_balls_benv_2423_exp2.skp

Final Porosity Lenses Documentry EXP2


Note: Recommended to be watched in 720p

Google Sketchup Installation

Google Sketch Up Installation Images:

For the Google Sketch up Installation I wanted to establish a metamorphosis of the train station and express it an artistic and data visualisation manner. With the amalgamation of differing materials it can be explored that the message of the brief was the recording of navigation and to have materials that can implement and enhance that perspective. For instance the use of the Glass rectangular structure that surrounds the train station employs the meaning of having the ability of looking within the changed train station which allows the viewer and player to understand the tracking of players.

The use of the Spawn Particle Entity can employ the means and navigation of where they started and where they ended and within the final video near the 1:50 mark the display of ordinary people in a society are depicted and are represented during daily task like smoking, waiting for the train, yawning and cleaning. These aspects elaborate on the daily lifestyle and relationship that I wanted to achieve with my Porosity Lense.


Spherical Ball Lights

Lights that randomly move from a bargraph to display the navigation of different types of people and objects with society and to track the navigation of the different areas and to represent the different types of people in society and the way they live. Also it implements the aspects of data visualisation as it takes the form of a statistical bar graph then transform into another aspect of data visualisation.


Archetype Entities

The Archetype Entities within Crysis Sandbox display and enhance the overall theme and look of what I set out to achieve. I wanted to have a community that was still under construction and deploy the machinery and typical objects that are custom the reconstruct to a town.


Research Tutorial concepts

Two Tutorials:

1. Spawn Particle Effect on AI character to then follow through on AI Path

For the Research Tutorial Assignment I want to represent the way in which an AI will be able to spawn a particle effect when they follow an AI Path. The use of this is to display and record the navigation of movement within a specific area and enhance the message of data visualisation on how people navigate through areas.


This the basic AI path formation and how to correctly name and which nodes need to be use for the AI character to follow a specificed AI path. I've rarely found a tutorial yet that displays good quality shots or clips of how to spawn a particle effect on an AI so that's why I want to try and do it myself.

After watching these videos I played around with some nodes and learnt how to attach the spawn particle entity to the AI character:

Also this is the script on how to attach a Spawn Particle Entity on the vehicle:


2. Random Movement

I wanted to display the Random movement of an object and deploy the principles of navigation within a specified area. I will use the RANDOM - MATH nodes to display this which is linked up to the MOVEMENT: MOVE ENTITY TO node. These in effect will deploy and demonstrate the principles of random navigation and also can be set in one place then move to another by an INPUT-KEY node.


For EXP 2 I will use this tatic to my advantage to show the recording of the navigation of a civilisation which in effect can enhance my message of the Porosity Lense.


Mastery Node # 3 AI : AI Follow Path Speed Stance


Note: Recommended to be watched in 720p

This video is the mastery of the AI : AI Follow Path Speed Stance and to correctly program the AI character to follow the path that I have laid out for them. The use of this is very vital to the Porosity Lense that I want to achieve and can elaborate on the aspects of recording the movement of an AI character.

The use of the AI Path and the way Sandbox lets the user edit the points set out can implement the navigation on how I want to express the use of data visualisation and the recording of the lifestyle of a civilisation.